![]() With uneven spacing ARK holds courses in various interesting subjects for its members. We do this to increase the general competence among our members, and during this spring, we decided to repeat the soldering course that that was held last autumn.
With uneven spacing ARK holds courses in various interesting subjects for its members. We do this to increase the general competence among our members, and during this spring, we decided to repeat the soldering course that that was held last autumn.
One major convenience for us is that we are allowed to use the electronics lab at NTNU (P15). The advantages of P15 is that it is large, and offers a soldering station for every participant. However, to use the lab we have to use RoHS-certified components and PCBs. During our first soldering course, we obtained PIXIE-kits from eBay, and were unable to prove whether or not these were compliant and thus allowed into the lab. The first course therefore had to be moved to a different location, which also meant we had to track down soldering equipment for all the participants. As this was rather inconvenient, we agreed that we would provide kits that complied to the RoHS-regulations the next time.
Not having the best of luck on eBay and similar sites, we decided to make our own version of the PIXIE and order the components separately ourselves. Since none of the course planners had any experience with PCB designing, the task appeared to be harder than first anticipated. However, with help and guidance from some of our more experienced members, it turned out fine. We made some changes in our version, the most significant being larger soldering pads for easier soldering.
One mistake we did during the planning was reusing the same components that were found in the original kit. This was not necessarily a problem in itself, but we had problems sourcing RoHS-compliant models of the necessary parts. Next time we will definitely start with finding equivalent components and then adjust the PCB-design to fit these components.
Creating the PCB
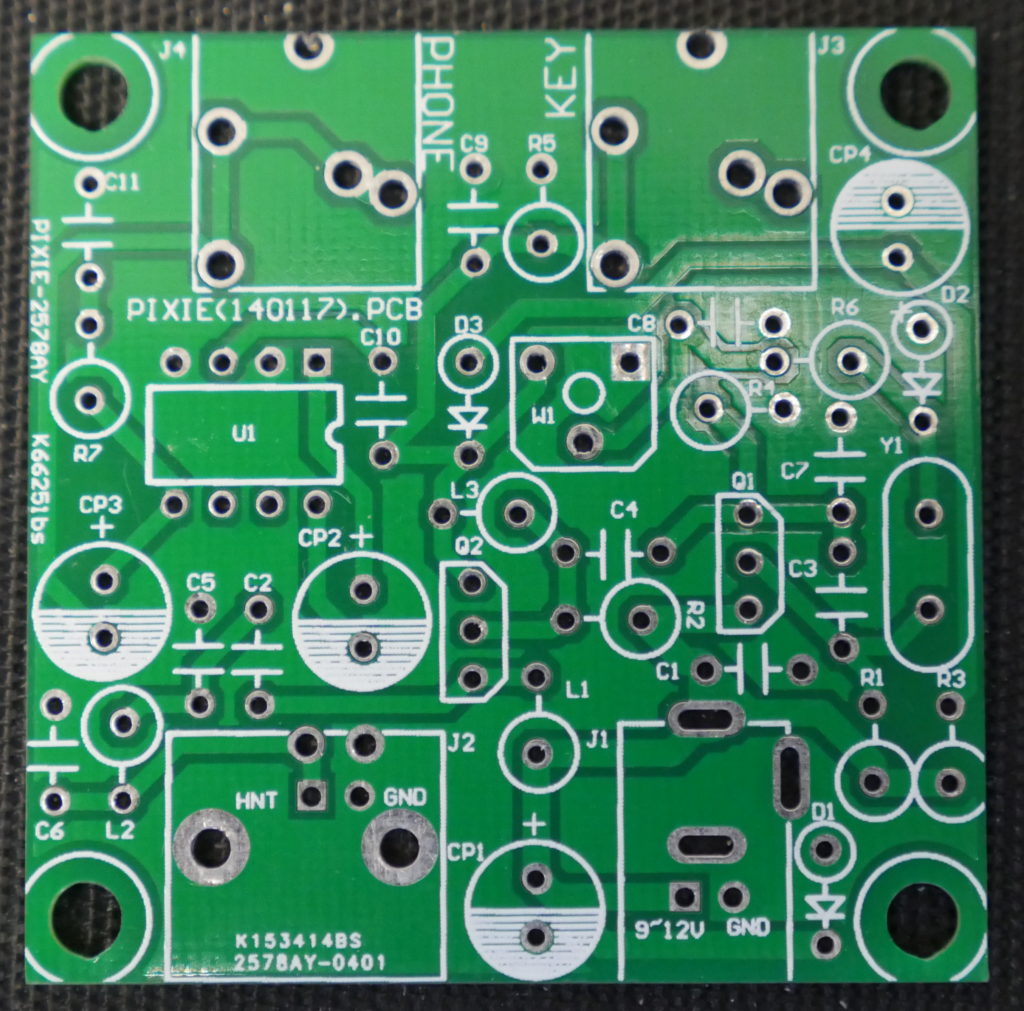
The original board from the first course
Upon designing our PCBs we ultimately had to go through a couple of revisions. To help inspect the different variations in their physical form, we luckily got Elprolabben at NTNU to print some PCBs for us.
The first result is shown below. In this revision we found that the tracks turned out a bit too small for our liking, in addition to the solder pads not being large enough for our components.
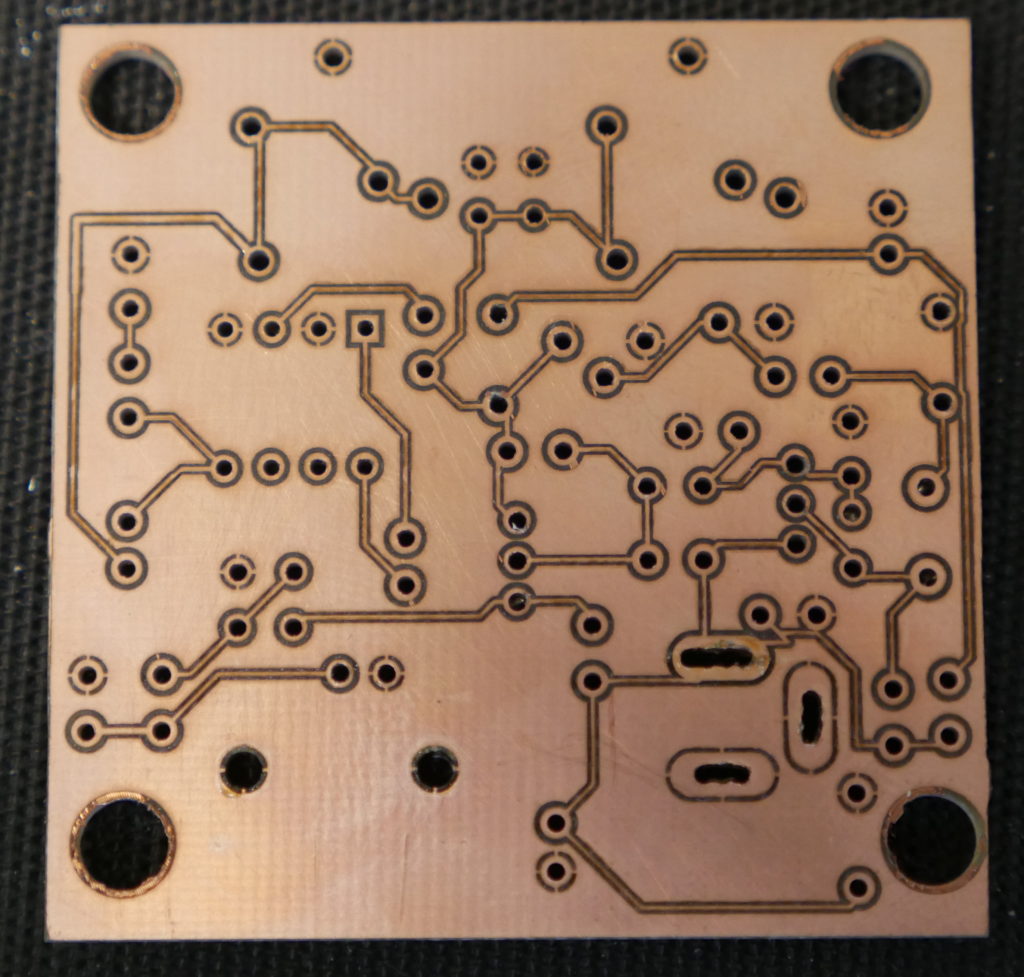
The front of our first revision. Note the narrow tracks and small solder pads
In the next revision, we therefore increased the tracks and solder pads.
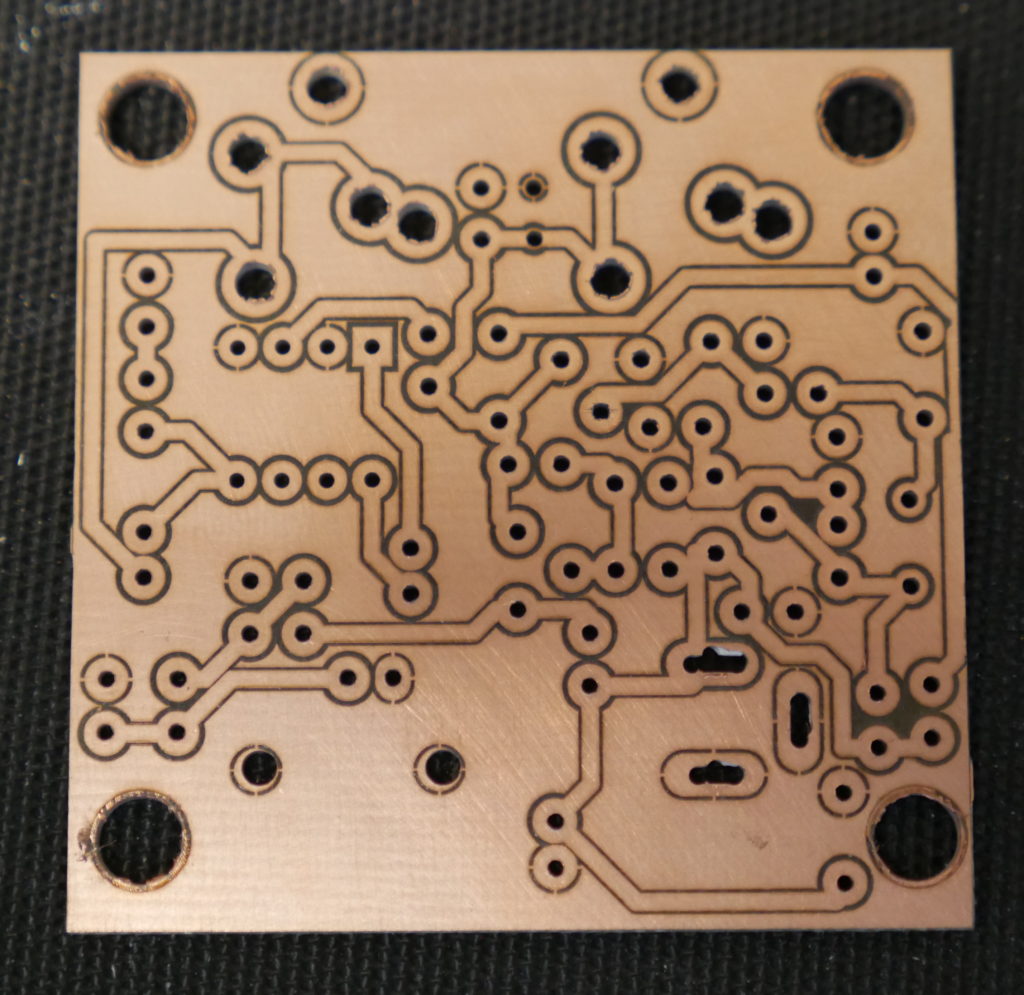
The second revision. Note that the tracks now have the same width as the original, and the larger solder pads. We also adjusted some of the component footprints to better fit the real components.
We then successfully tested that all the components fit on the board, and made the final order to AllPCB.
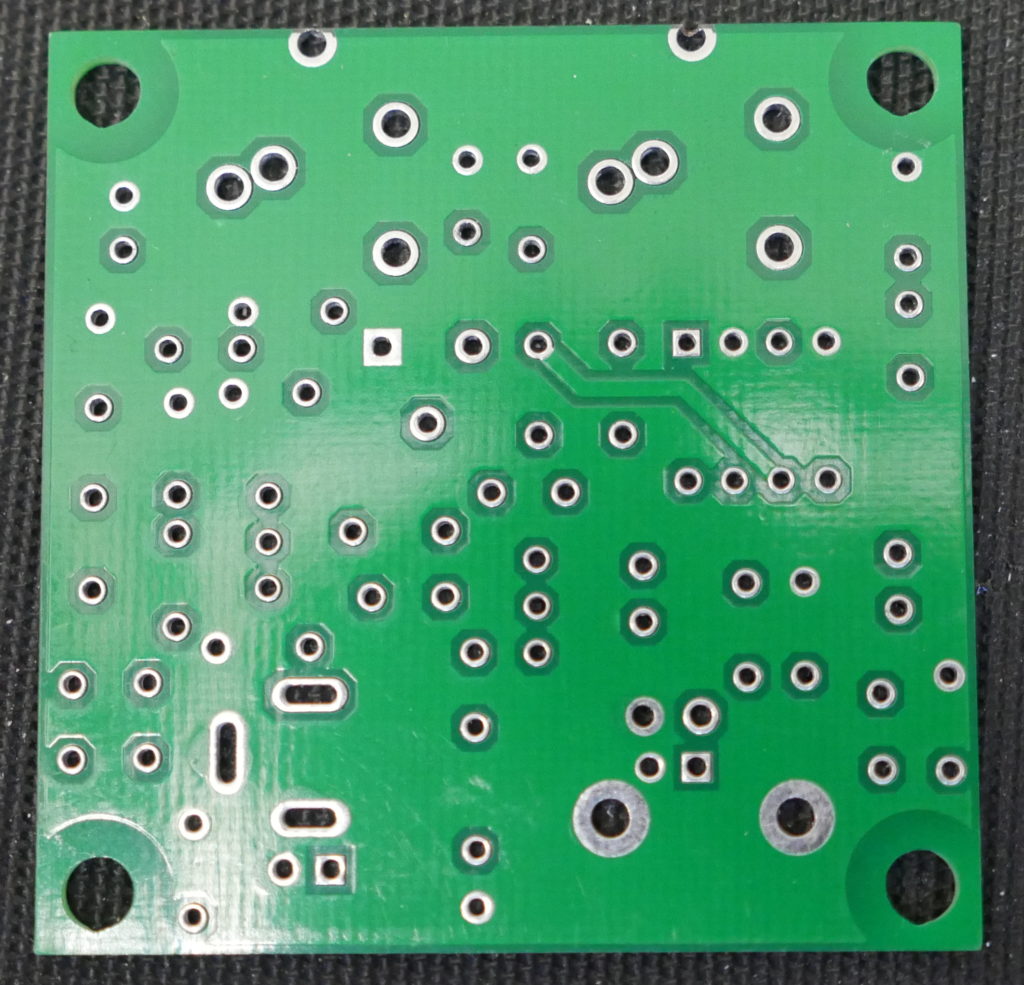
The final version, printed at AllPCB

The three revisions, side by side
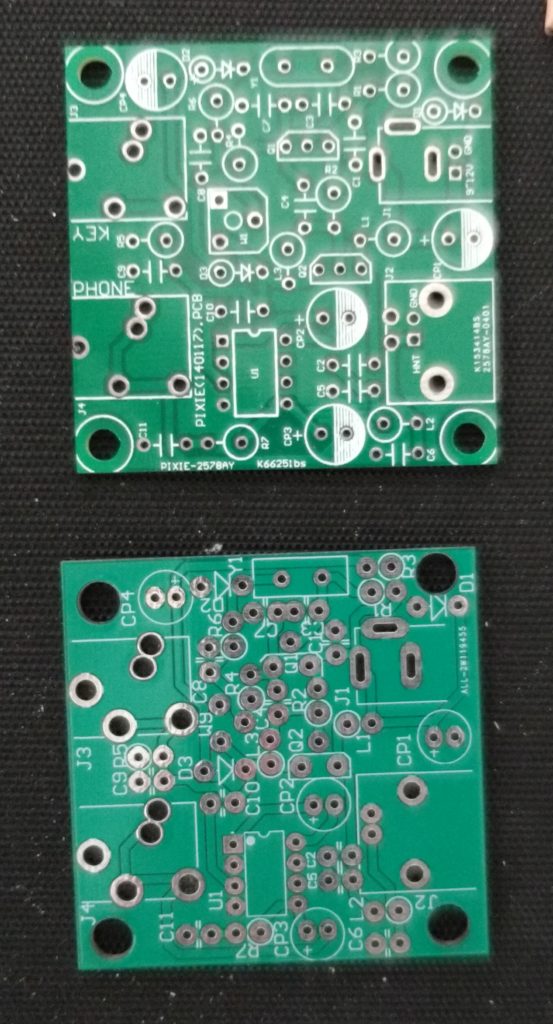
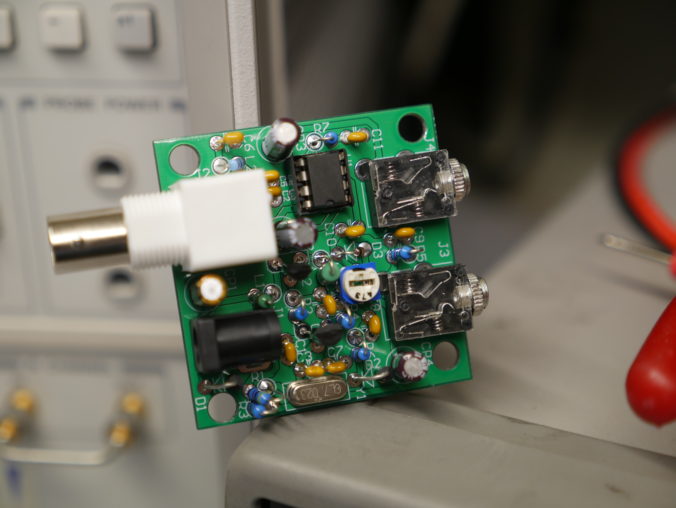
This is the front side of the finished product, compared to the old original. Note the larger pads to fit all the components
During the course and through making different iterations for the design, we made some experiences and have proposed design changes that we will implement in the next batch. Among other things, we will redesign the schematic to better fit cheaper and more commonly available components. This is mostly done to keep the cost down, but also to more easily source components. In the next round we will also try to make the whole PCB larger so that we can more easily fit the given components, in addition to making it easier for the course participants to solder. These changes will however make the board a bit more expensive, but for the added ease we are happy to put more money into the PCBs.
Sourcing the parts
As we had to get RoHS-compliant PCBs, we also had to get compliant components. For this purpose, we first decided to use Digi-Key. We tried sourcing most parts here, but quickly discovered that our relatively small order would cost us too much compared to the original kit. With that in mind, we decided also to use another supplier, Tayda Electronics. We were able to find most parts here, but still ordered some through Digi-Key, mostly due to descriptions failing to mention any RoHS-compliance. The only part neither of the mentioned suppliers carried, was a rather awkward 7.023 Mhz crystal. After a bit of research, we found a seller on eBay that was able to supply us with similar crystals, though at the frequency of 7.030 Mhz. This was not a huge step in either direction and is still well within the amateur radio band.
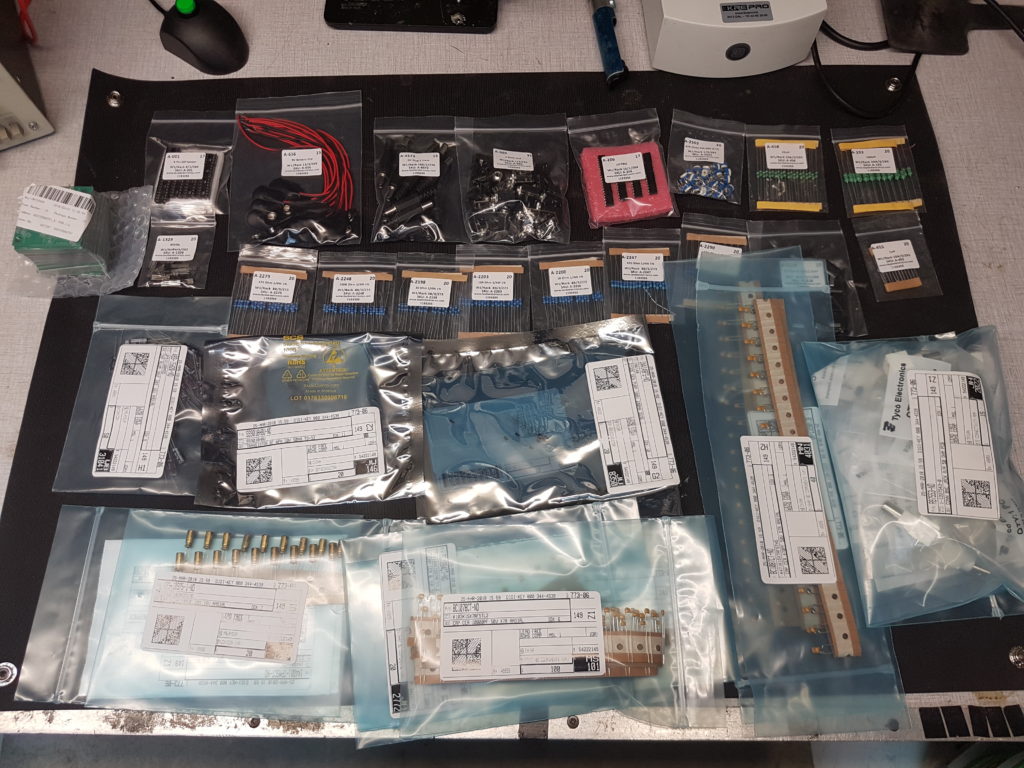
All the parts, minus the crystals
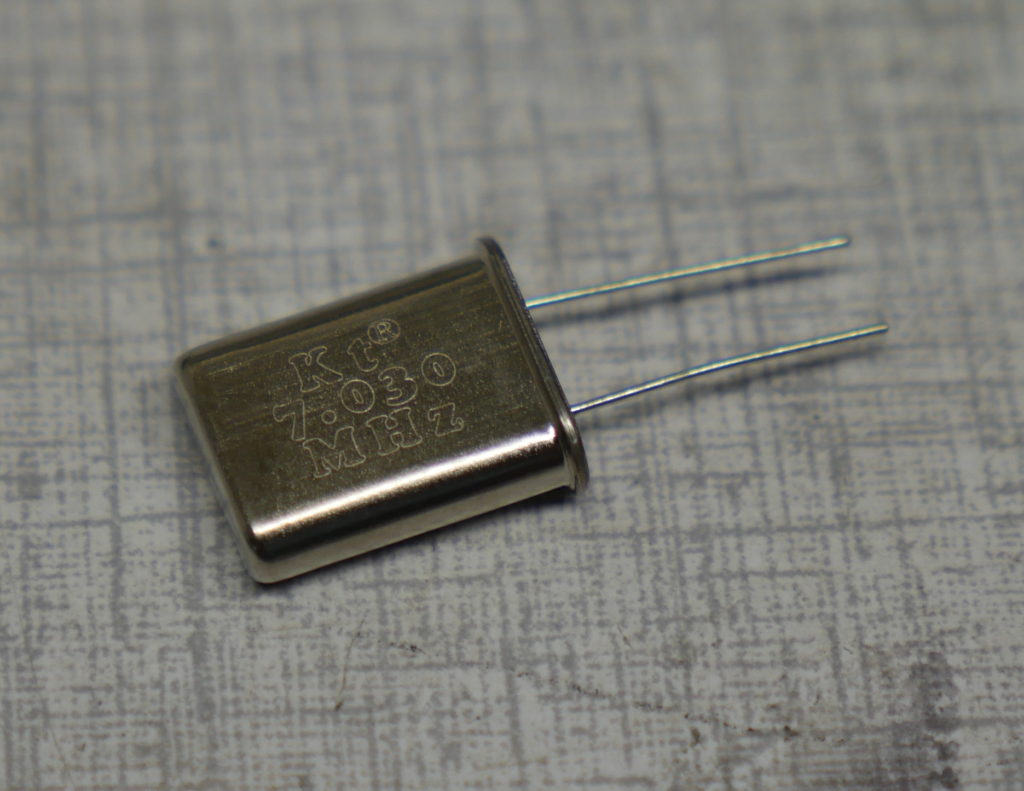
The 7.030 Mhz crystal
As we ordered the necessary parts quite late, the components did not arrive until the day before the course. The crystals arrived shortly after the course was finished. As we never checked the RoHS-compliance of the crystals, we would not be able to solder these in the electronics lab at NTNU anyway. Regardless, as they arrived late, the participants instead used the soldering station in our own workshop after the course was done.
Some quick measurements
Although we used mostly the same components in our version, some minor changes (especially the crystal) could have changed the behavior and characteristics of the final product.
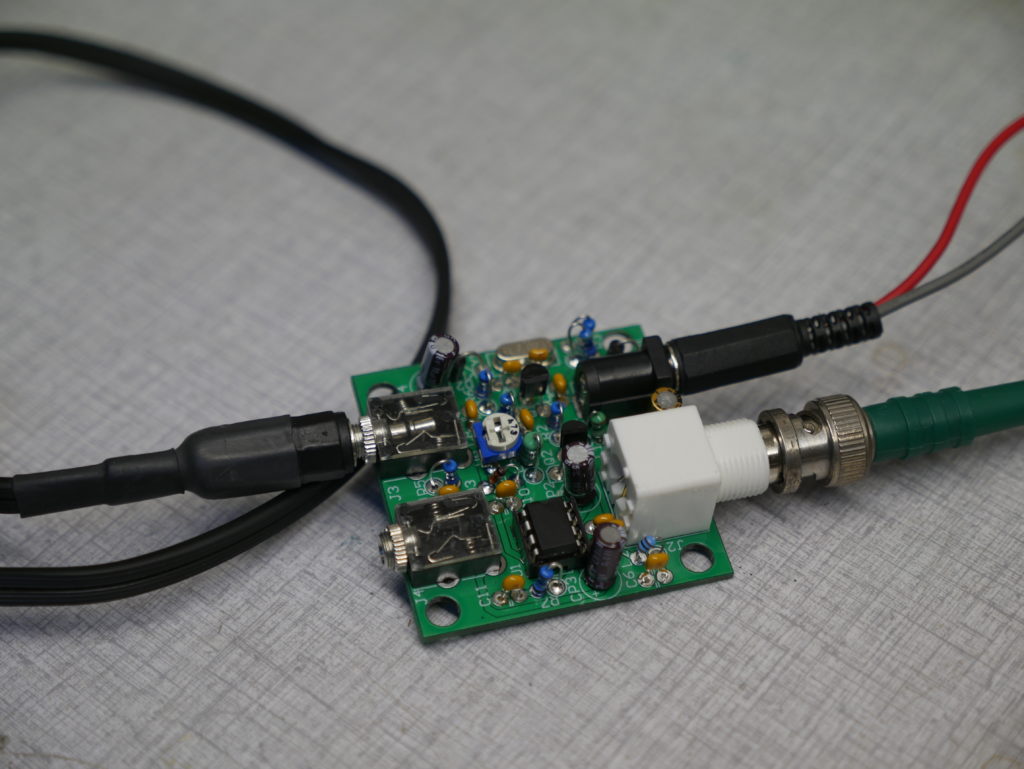
The assembled transceiver with an antenna, power and a button attached. Note that this is using the original 7.023 Mhz crystal, as our new crystals had not arrived yet
To test it, we utilized some of the lab equipment we have available in our workshop.
In this case we tested the RX frequency. Since this type of circuit leaks through the RX frequency rather badly, this was easily measured with our frequency counter. To change the RX-frequency of the PIXIE, one would turn the potentiometer on the PCB the desired direction.
Since the frequency counter can handle a maximum of +7dBm on the input side, we have to use a 30dB attenuator to limit the input signal.
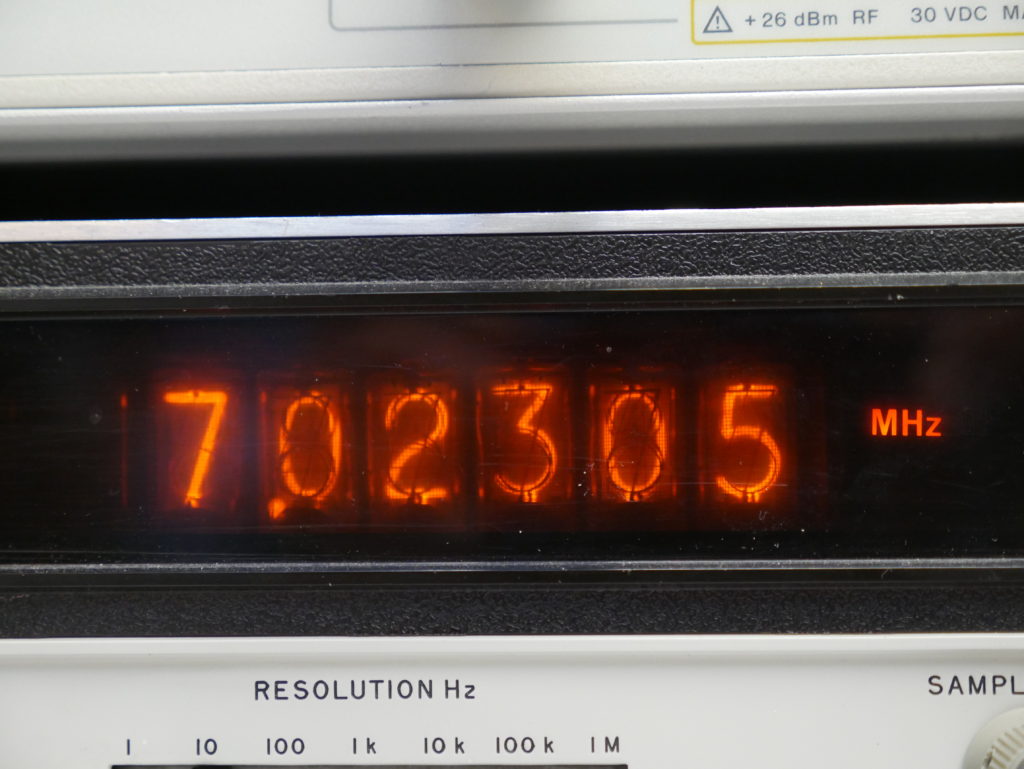
The lowest listening frequency, 7.02305 Mhz
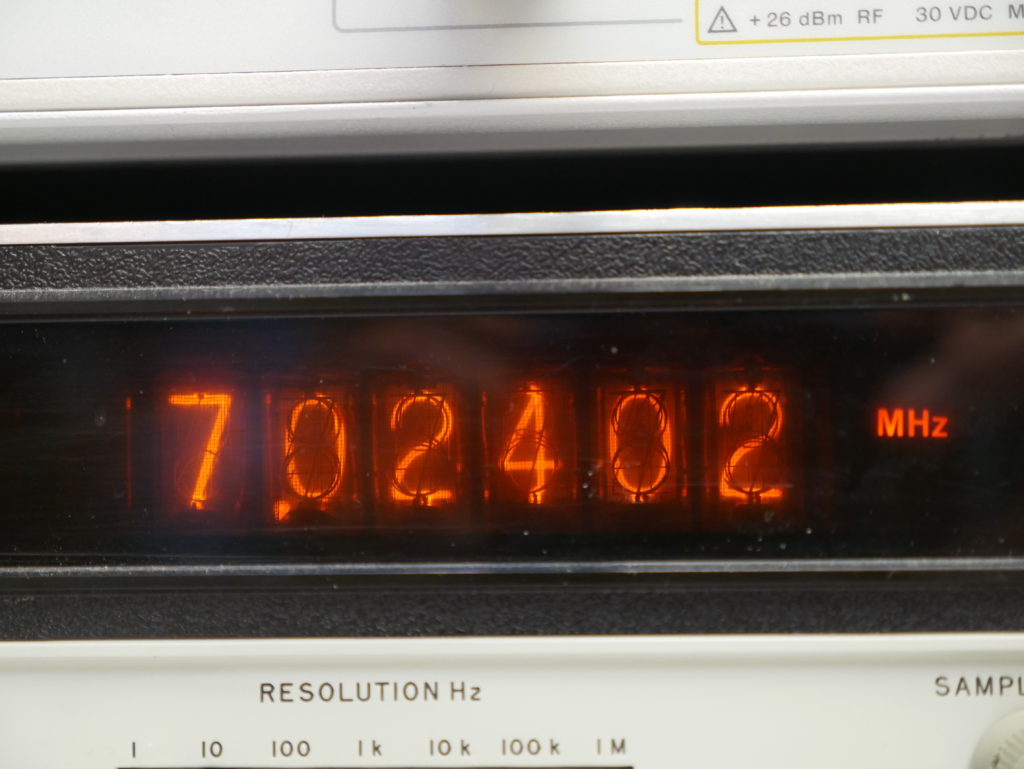
The highest listening frequency, 7.02402 Mhz
These results tell us that the transceiver can listen in on frequencies between 7.02305-7.02402 Mhz.
As this specific unit is using the original crystal at 7.023 Mhz, the results are as expected. For the kits that use the 7.030 Mhz crystal we expect different, but comparable results. A follow-up post might arrive for this.
After testing the frequency, we connected the transceiver up to our spectrum analyzer. In this case, we get to take a look at the output signal, both during RX and TX.
Since the spectrum analyzer has a maximum input of 26dBm, we have to use a another 20dB attenuator to limit the input signal.
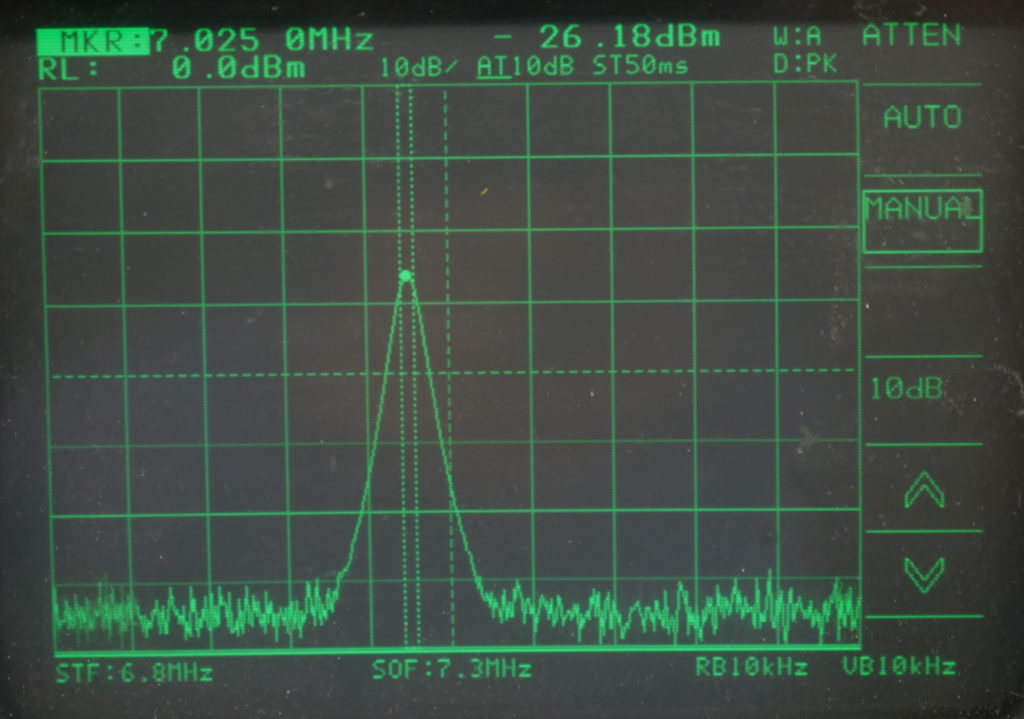
The PIXIE-kit during RX
In this first picture we can see the output signal during RX. Removing the attenuator from the equation leaves us with -6dBm during RX, which is within specifications. This is fine as a hobbyist project, but not too ideal for other radio operators in near proximity of the transceiver or the antenna.
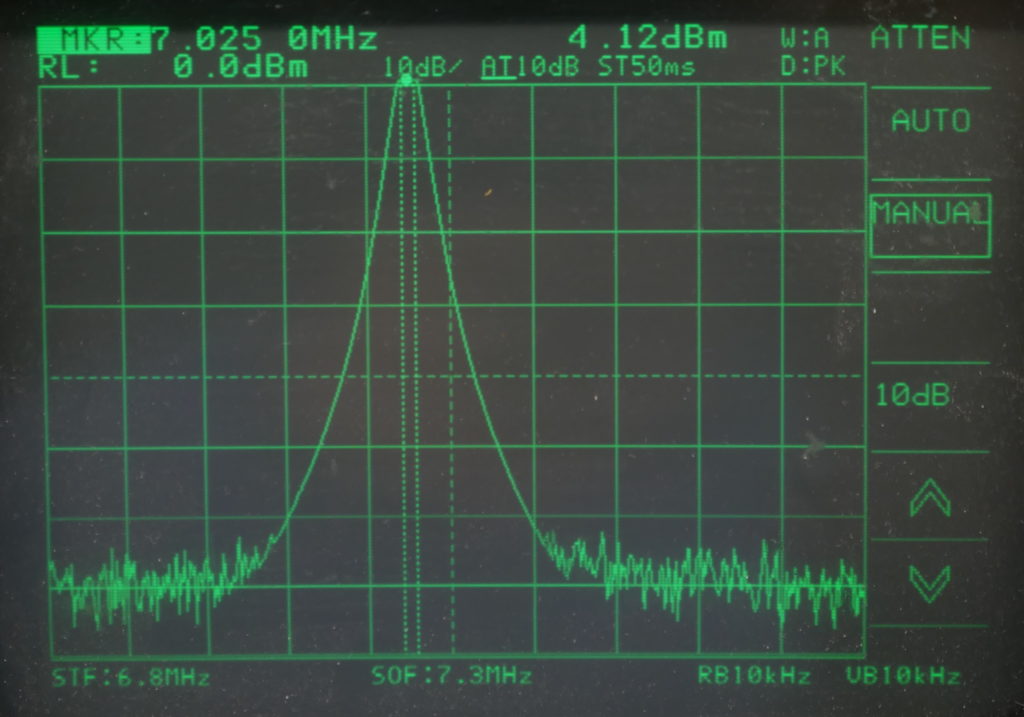
The PIXIE-kit during TX
Keying the transceiver, we can now see the output signal during TX.
Subtracting the TX output with the RX output leaves us with 30,3dBm, which is around the specified 1W.
The course
The course itself started with a theoretical introduction to soldering, held by Øystein (LB7IG). In this introduction, the participants were made familiar to what soldering is, how it works, and why we use it. This also included talking about the potential dangers of soldering, and additional best practices when soldering.
After the theoretical part, we continued to the electronics lab at NTNU for the soldering part. This part consisted of assembling the Pixie 40m CW kit that was introduced earlier. To help the participants, we brought in a couple of experienced assistants who happily instructed our participants in the assembly process.
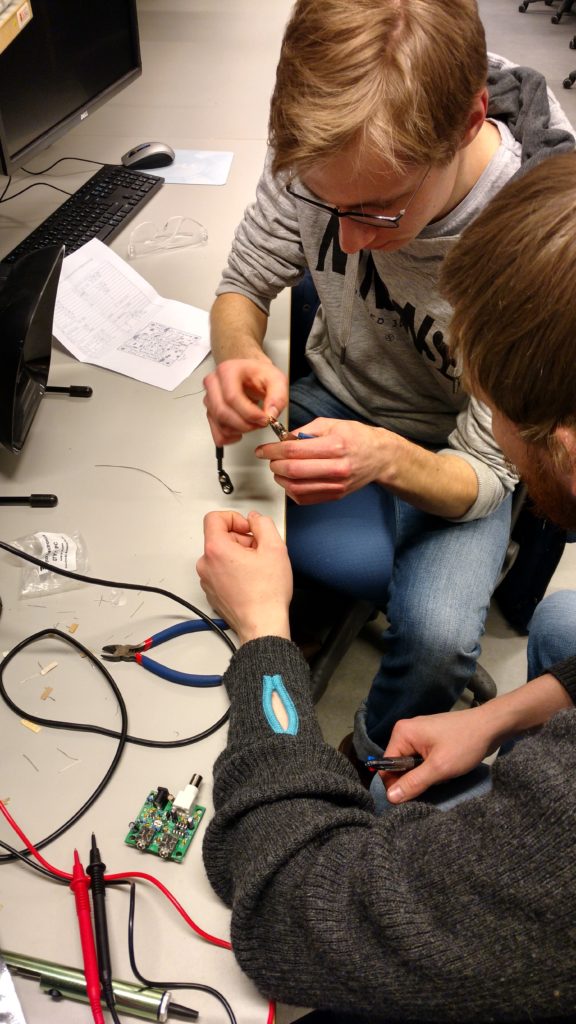
Edvardas, prepearing the battery cable under guidance of Sveinung (LB1SH)
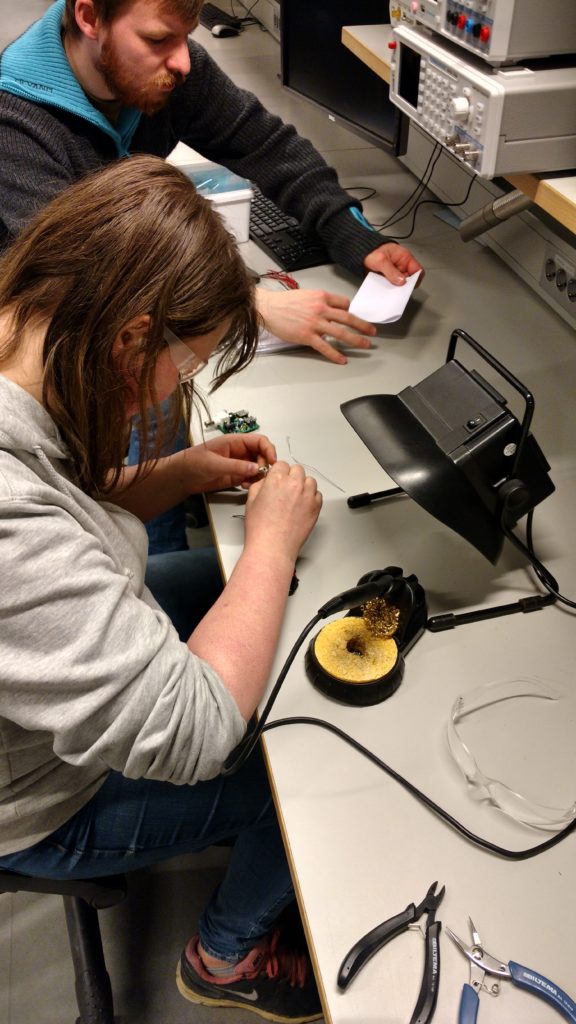
Oda during the second day of the course
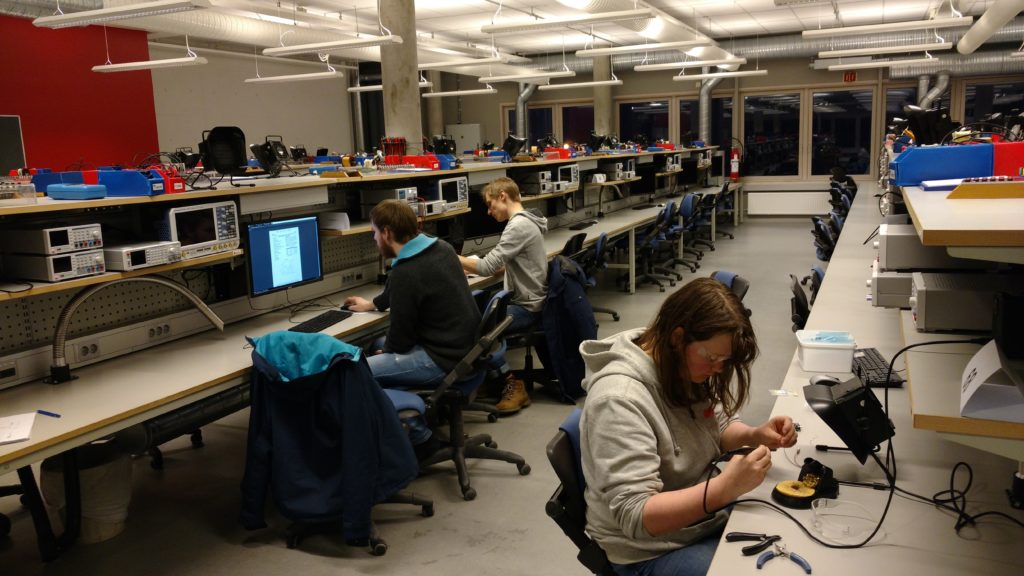
The participants on the second day of the soldering course. From left: Sveinung (LB1SH), Edvardas and Oda
In summary, we ended up with a total of four participants, which was a bit below the expected number. We also only had the one PIXIE-kit this time, which most of the participants from the earlier course already had assembled. Next time we will try to get a variety of kits to spark the interest in our members. However, we still feel the course went successfully and are left with the impression that everyone involved had a great time.
We would like to thank NTNU and Elprolabben for lending us the electronics lab. Elprolabben also were indispensable in the development of the Pixie PCB and made us the prototypes of the different iterations throughout of the process. We would also like to thank LB5DH and LB0VG for planning the course and making the kit, plus LB1SH and LB7IG for assisting both during the introduction and the soldering part.
If you’re interested in knowing more about the PCB, a github-page for the gerber-files (PCB production files) is available along with a spreadsheet for the BOM.

Hello, just ordered the PCB’s and can’t find the BOM anywhere, would you be able to assist please, always wanted to make the Pixie! Thank you 2D0OMN