Taking down our HF mast is necessary for some types of maintenance and very practical for the rest. Unfortunately, it is quite a large operation that takes a few hours. This makes us aggregate several maintenance projects until we have a suitable day to take the mast down and then do all of them at once. The spring weekend, from the 26th to the 27th of April, was such an occasion.

The weekend was carefully planned in advance, and we were able to gather a work team for both days despite this being in the middle of the exam period. We started on Saturday by lowering the mast. This includes moving the attachment point for the wire dipoles off the mast and turning and tilting the HF-beam so that it won’t hit the roof when we lower it.

It had been a while since the last time we had the mast down, and one of the primary motivations was to inspect the state of decay on the antennas and document it. Over the weekend, we ended up taking more than 300 close-up images of the antennas and the mast. These will hopefully help us avoid standing on the roof and wondering how things look high up in the mast.

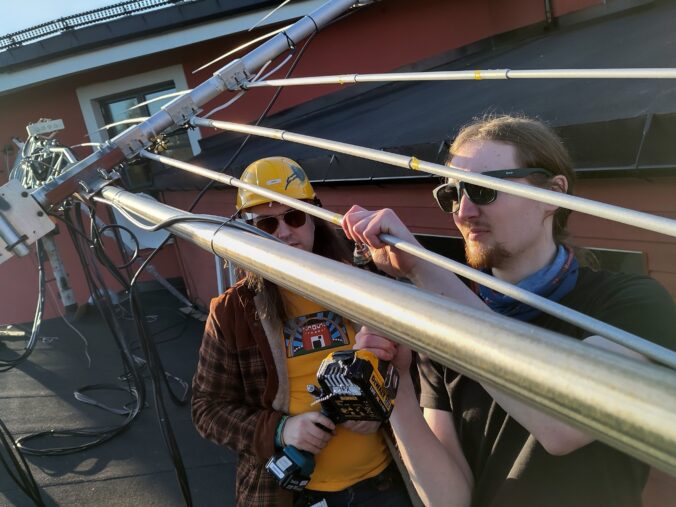
One of the issues that the inspection uncovered was that some of the rivets in our Force12-X beam were loose. Not so loose that they would fall off, but so loose that they had some wiggle room. We decided to redo them before they became any worse. This meant drilling out the worn-out rivets and re-riveting them. By Sunday evening, we had replaced more than 100 rivets.

The primary planned maintenance operation was to replace the lower of the two wires that we use for hoisting the mast up and down. By now, it had become quite rusty, and given enough time, that could mean that we could risk breaking it. There was some slight ambiguity on exactly where to thread the wire through the beams in the mast, but we chose the same path as the old wire. With great pleasure, we could see that hoisting the mast with the new wire was now easier.


We found some rust on both the mast and the antenna. The U-bolts on the attachment point of the HF-beam had some rust on them. Those were replaced, but the rust on the mast needed a different approach. The one we went with was to brush away loose rust and loose paint and apply a thin layer of a product translated as “Rust Eater”. Allegedly, it chemically reacts with the oxidized rust to form a stable chemical that protects the unspoiled steel below. It is a relatively simple approach compared to cleaning off all the rust, but we will see how well it holds up with time.


We also did a few minor fixes. The waterproofing of the antenna coax connections was redone, and we replaced the rope on the 40 m antenna. All in all, we were quite pleased with the weekend. Everything had gone well, and in marvelous spring weather. While no functional changes were made, we could be a bit more sure that the antenna and mast would survive the weather. Thanks to LA2DIA, LB0CJ, LB0DJ, LB1HH, LB3BK, LB3DK, LB3SG, LB4FI, LB5DH, LB9JJ and Øyvind for the work done and especially LB6GH for organizing it.

Leave a Reply